Download PDF
Download page T28986 replacement sonic transducer.
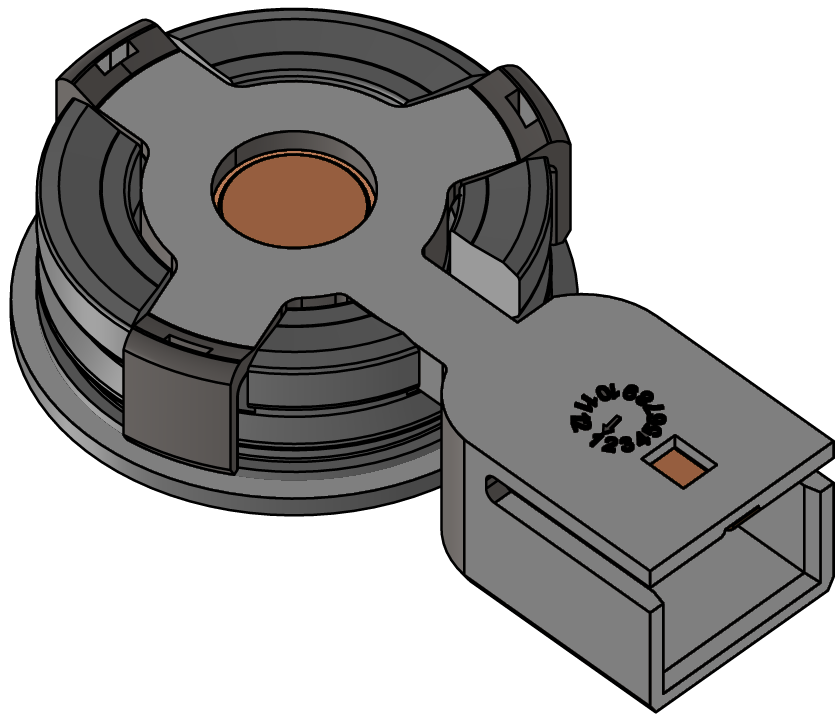
T28986 replacement sonic transducer
Qualification
Qualified personnel
Material
| Pos | Designation | Article | Number |
|---|---|---|---|
| 01 | 180°C sonic transducer | T28555 | 1 |
| 02 | PTFE seal 16x24x1 | T28883 | 1 |
Required material
- Open-end wrench, size 10
- Torx screwdriver size 30
Video guide
Follow the QR code link to watch the YouTube video. 
Procedure
ATTENTION!
Working with the unit requires knowledge of the safety instructions and quick guide. That's why:
Read the safety instructions and quick guide carefully before starting any work. The basic requirement for safe work is compliance with all safety instructions and careful action by qualified qualified personnel to prevent accidents involving personal injury and property damage.
Cooling and drain
- On the basic screen, tap the function button (
 ).
). - On the basic screen, tap the function button (
 ).
).
→ The unit cools down and evacuation the mold before switching it off.
Check and switch off pressure
- Select [Display] > [Actual Values] > [System Pressure].
→ The system pressure must display 0.0 (±0.1) bar. - The pressure shown by the pressure gauge must be 0.0 (+0.3) bar.
- Switch off the main switch (QS 1), pull out the mains-connector.
Remove covers
- Remove covers from the unit (→ Open unit).
Replace sonic transducer (BB 1, BB 2)
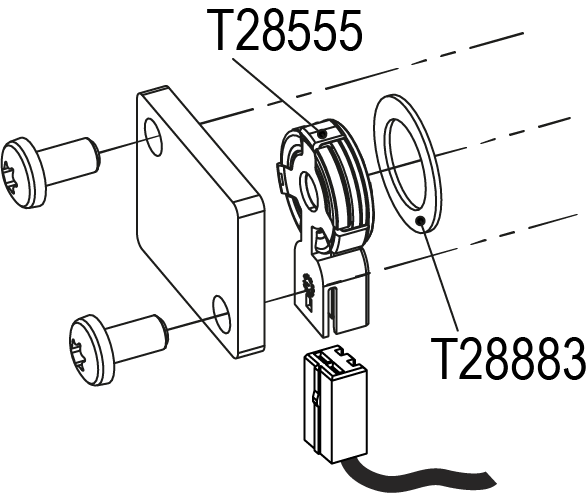
- Remove the cable on the sonic transducer (T28555).
- Remove 2 Torx screws and remove the cover.
- Replace the sonic transducer (T28555) and seal (T28883).
- Install the cover and secure 2x Torx screws with 12 Nm.
- Connect the cable to the sonic transducer (T28555).
Check tightness and function
- Connect the mains-connector and switch on the main switch (QS 1).
-
Switch on the unit using the I/O button (
 ), check the tightness and function of the unit.
Calibrate Flow rate measurement
- Operate the unit in normal operation at 40°C for at least 10 minutes.
- Select [Service] > [Calibrating] > [Flow Rate] > [Flow rate offset (internal)].
→ Set parameter to 2 l/min. - Close the shut-off valve between Main line and return and wait for 1 minute.
- Read the current flow rate.
- Set the parameter [Flow rate offset (internal)] after the following calculation:
→ New offset = 2 l/min — 'current flow' [Flow Rate]. - Open the shut-off valve.
Check calibrating
Danger due to incorrect calibrating
Incorrect calibrating may cause the unit to malfunction. That's why:
- Verify calibrating
- Operate the unit at 40°C for at least 10 minutes in normal mode.
- Close the shut-off valve between the Main line and the Return line.
→ The flow rate drops to 0 l/min and the “Flow rate zero” alarm message is delayed.
Switch off and install covers
-
Switch off the unit using the I/O button ().
→ The unit switches off and, if necessary, is cooled and depressurised. - Switch off the main switch (QS 1).
- Re-attach covers from the unit (→ Open unit).