PDF
Download PDF
Download page T28604: LED status luminaire SPL-61.
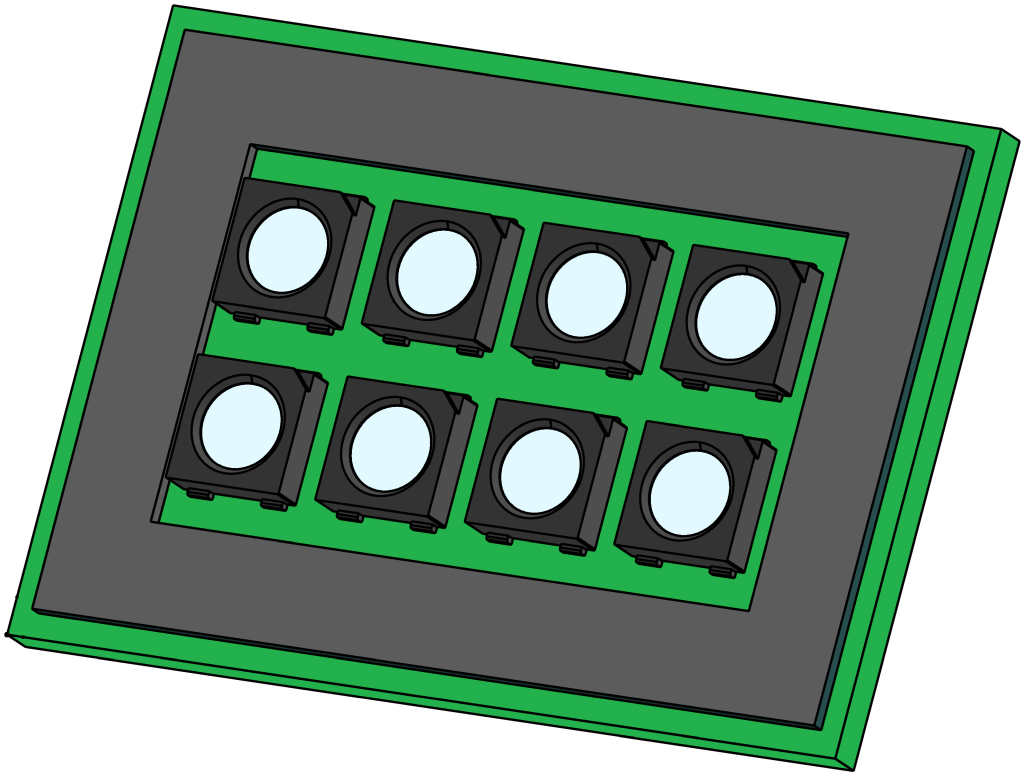
T28604: LED status luminaire SPL-61
purpose
Replacing the LED status luminaire SPL-61 (A 18)
qualification
Qualified personnel
Material
| Pos. | Designation | article | T28604 |
| 01 | LED status luminaire SPL-61 | T28604 | 1 |
Required material
- Torx screwdriver size 20
- Cleaning/solvent to remove adhesive residues
procedure
ATTENTION!
Working with the unit requires knowledge of the safety instructions and quick guide. That's why:
Read the safety instructions and quick guide carefully before starting any work. The basic requirement for safe work is compliance with all safety instructions and careful action by qualified qualified personnel to prevent accidents involving personal injury and property damage.
cooling / switch off
- On the basic screen, tap the function button (
 ).
).- The unit cools down until the temperature is lower than the cooling temperature. The unit then switches off.
- Switch off the main switch (QS 1), pull out the mains-connector.
Open front
- Open the front door and fold the front completely down by loosening the two Torx screws.
Replace spare part
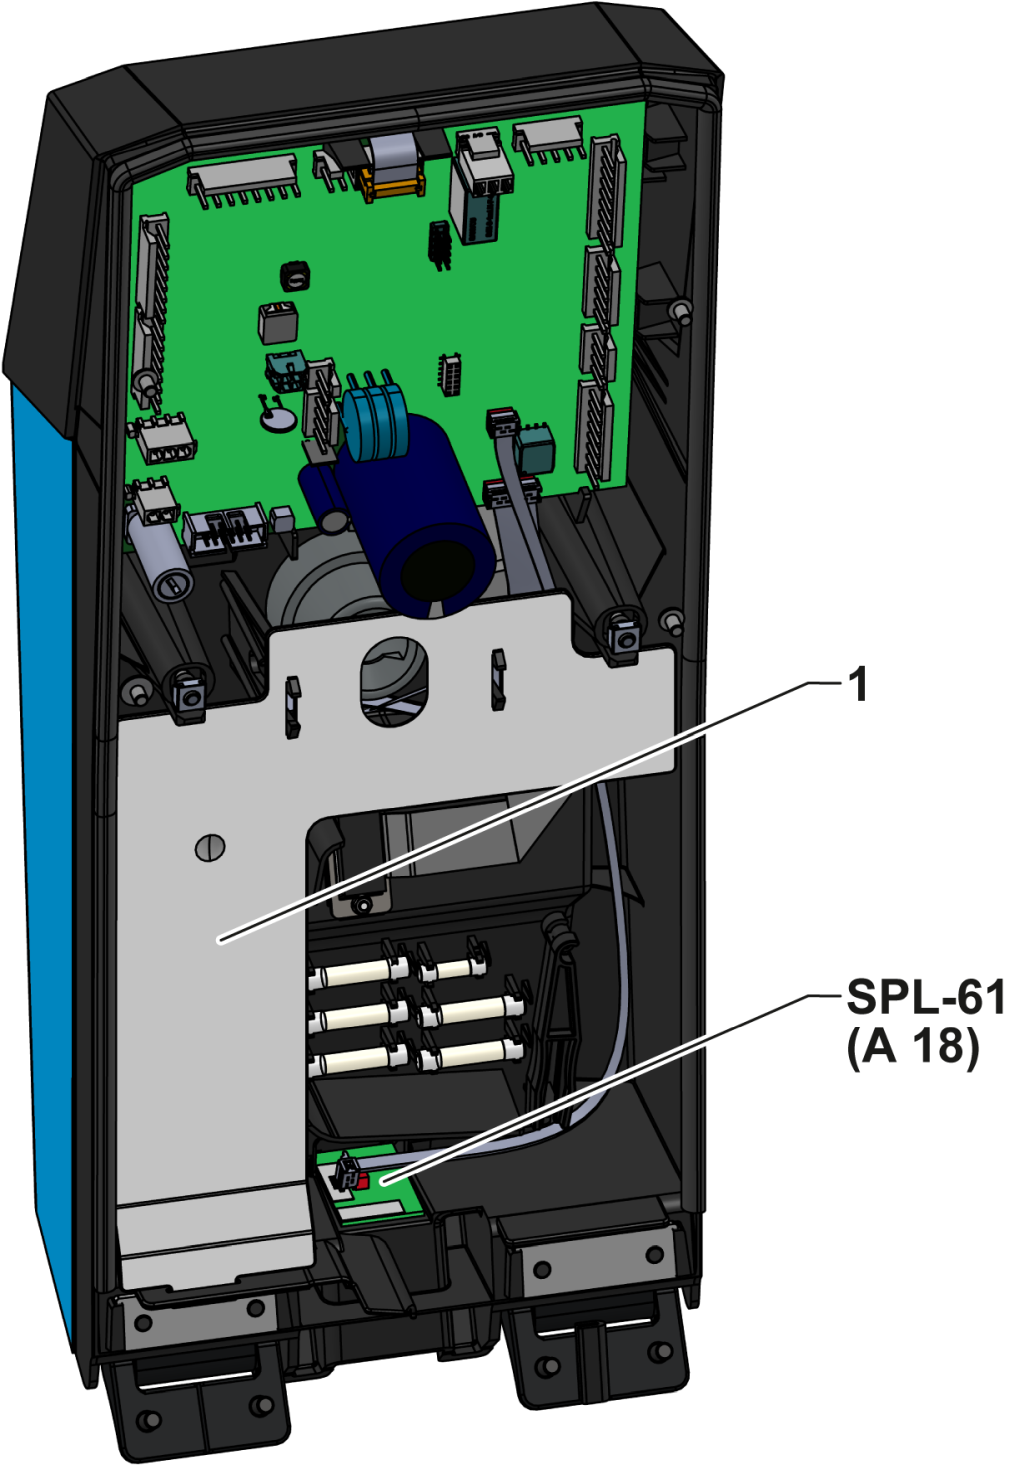
- Remove cable cover (only for housing size 61)
- Release and remove the cable cover (①) by pressing the mounting clips together.
- Gently pull the cable harness out of the cable duct and push it aside so that the SPL-61 board is accessible.
- Remove SPL-61 board
- Unplug the X922 connector from the circuit board.
- Press the board (attached with double-sided adhesive tape) into the housing from the outside to the inside until the adhesive is released.
- Remove the SPL-61 board from the housing.
- Prepare the adhesive surface
- Remove adhesive residues on the housing (if necessary with a suitable cleaning/solvent).
- Make sure the adhesive surface is clean, dry and free of grease.
- Insert new SPL-61 board
- Glue the new circuit board into the housing recess.
- Plug in the X922 connector again.
- Install the cable cover (only housing size 61)
- Insert the cable harness back into the cable duct.
- Insert the cable cover (①) into the appropriate recesses.
Close front
- Fold up the front and secure 2x Torx screws.
Check function
- Connect the mains-connector and switch on the main switch (QS 1).
- Check whether the LED status luminaire flashes with during the start process.
-
Switch on the unit using the I/O button (
 ), check the tightness and function of the unit.
Switch off
-
Switch off the unit using the I/O button ().
- The unit switches off and, if necessary, is cooled and depressurised.
- Switch off the main switch (QS 1).