Download PDF
Download page T28669, T28670: frequency converter.
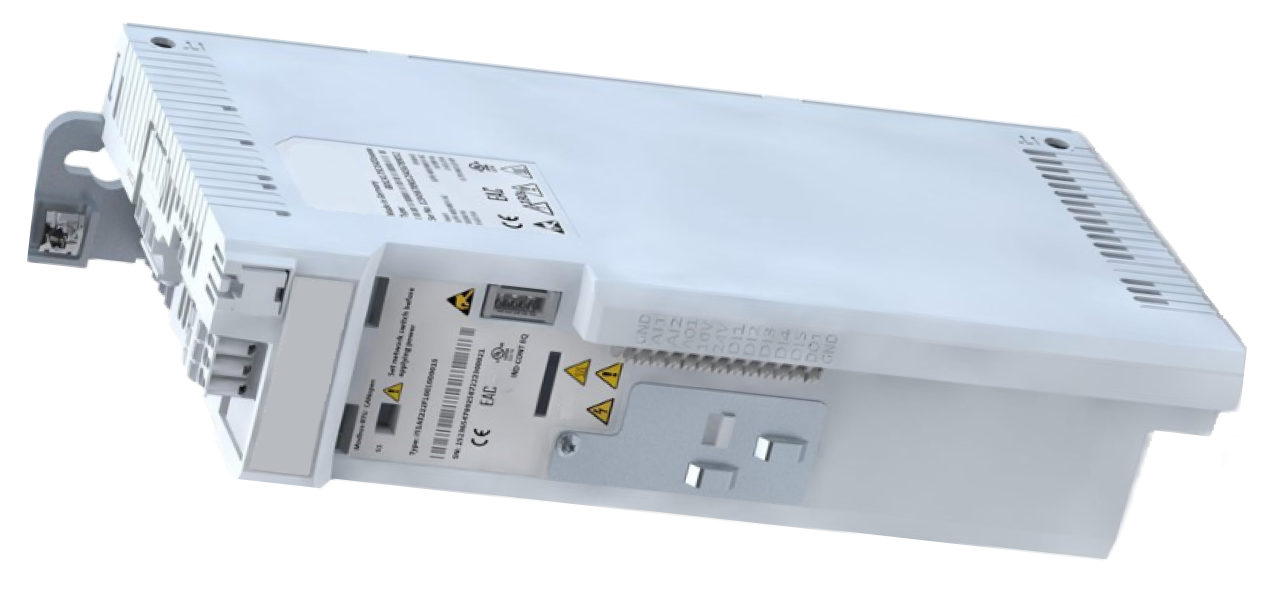
T28669, T28670: frequency converter
purpose
Replacing the frequency inverter (U 1)
qualification
Qualified electrical personnel
Material
| Pos. | Designation | T28669 | T28670 |
| 01 | frequency converter i510 2,2 kW, 340–528 VAC | 1 | - |
| 01 | frequency converter i510 2,2 kW, 170–264 VAC | - | 1 |
Required material
- Torx screwdriver, size 10, 20
procedure
ATTENTION!
Working with the unit requires knowledge of the safety instructions and quick guide. That's why:
Read the safety instructions and quick guide carefully before starting any work. The basic requirement for safe work is compliance with all safety instructions and careful action by qualified qualified personnel to prevent accidents involving personal injury and property damage.
cooling / switch off
- On the basic screen, tap the function button (
 ).
).- The unit cools down until the temperature is lower than the cooling temperature. The unit then switches off.
- Switch off the main switch (QS 1), pull out the mains-connector.Then wait 5 minutes!
Danger to life due to electrical voltage!
Danger to life in case of contact with parts that carry voltage. That's why:
Disconnect The unit from the power supply before opening. The disconnection must be secured against restarting. Due to charged capacitors, a waiting time of at least five minutes must be allowed after the power supply is switch off before work is carried out on the frequency converter.
Open front
- Open the front door and fold the front completely down by loosening the two Torx screws.
- Remove the protective cover in the electrical housing by removing the Torx screws.
Replace spare part

- Unplug the X100, X105 and X216 connectors from the frequency converter.
- With the X216 cable, remove the cable tie at the shielding connection.
- Remove grounding wires (pump, electrical housing) from the frequency converter.
- Loosen the frequency inverter screws on the rear wall.
- Push the frequency converter upwards, extend it forward from the mounting screws and remove it.
- Install a new frequency converter and tighten the mounting screws.
- Special feature of IT systems (power connection without protective earth): The capacitor screw at the inlet of the frequency converter (upper IT screw, see fig.) must be removed.
- Connect grounding wires (pump, electrical housing) to the frequency converter.
- Plug the X100, X105 and X216 connectors into the frequency converter.
- Make sure that all connections are made correctly according to the electrical circuit diagram. Click here...
- Secure the X216 cable to the shielding port with a cable tie.
Close front
- Install the protective cover around the electrical housing and secure with Torx screws.
- Fold up the front and secure 2x Torx screws.
Check function
- Connect the mains-connector and switch on the main switch (QS 1).
-
Switch on the unit using the I/O button (
 ), check the tightness and function of the unit.
Switch off
-
Switch off the unit using the I/O button ().
- The unit switches off and, if necessary, is cooled and depressurised.
- Switch off the main switch (QS 1).