Read the safety instructions and quick guide carefully before starting any work. The basic requirement for safe work is compliance with all safety instructions and careful action by qualified qualified personnel to prevent accidents involving personal injury and property damage.
Switch off / remove covers
On the basic screen, tap the function button ().
The unit cools down until the temperature is lower than the cooling temperature. The unit then switches off.
Switch off the main switch (QS 1), pull out the mains-connector.
Remove the thermostat cable flat plug from the thermostat.
ATTENTION!
Screw connections, in particular combinations of stainless steel/stainless steel or steel/stainless steel, tend to get stuck or get stuck when operation for a long time at high temperatures. That's why:
Use appropriate lubricants
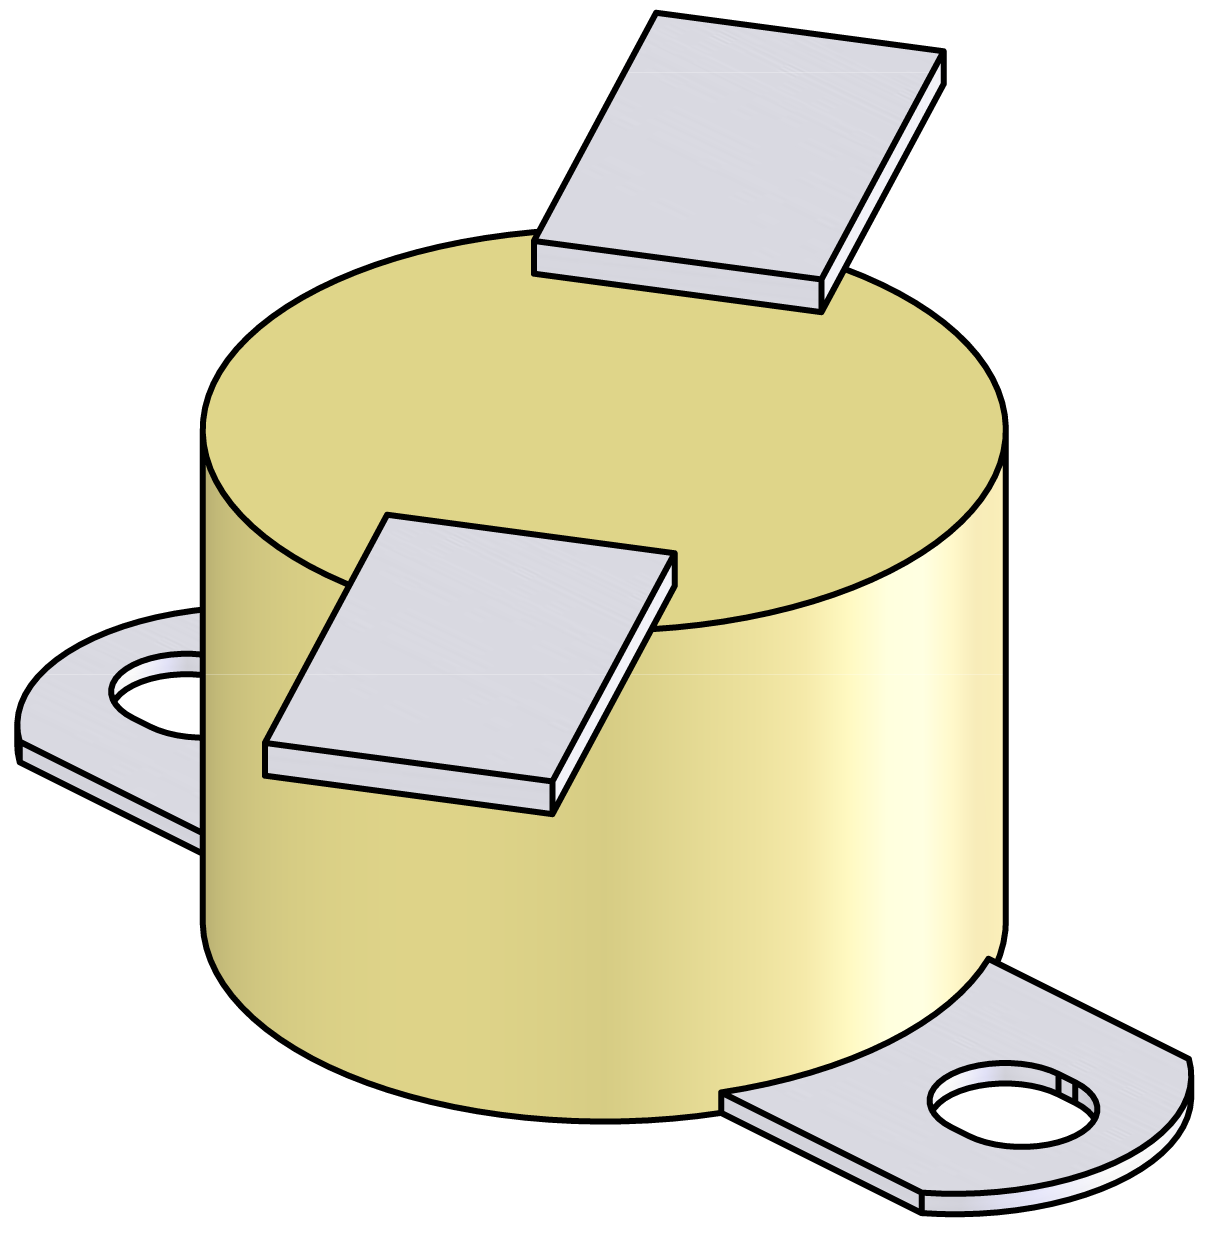
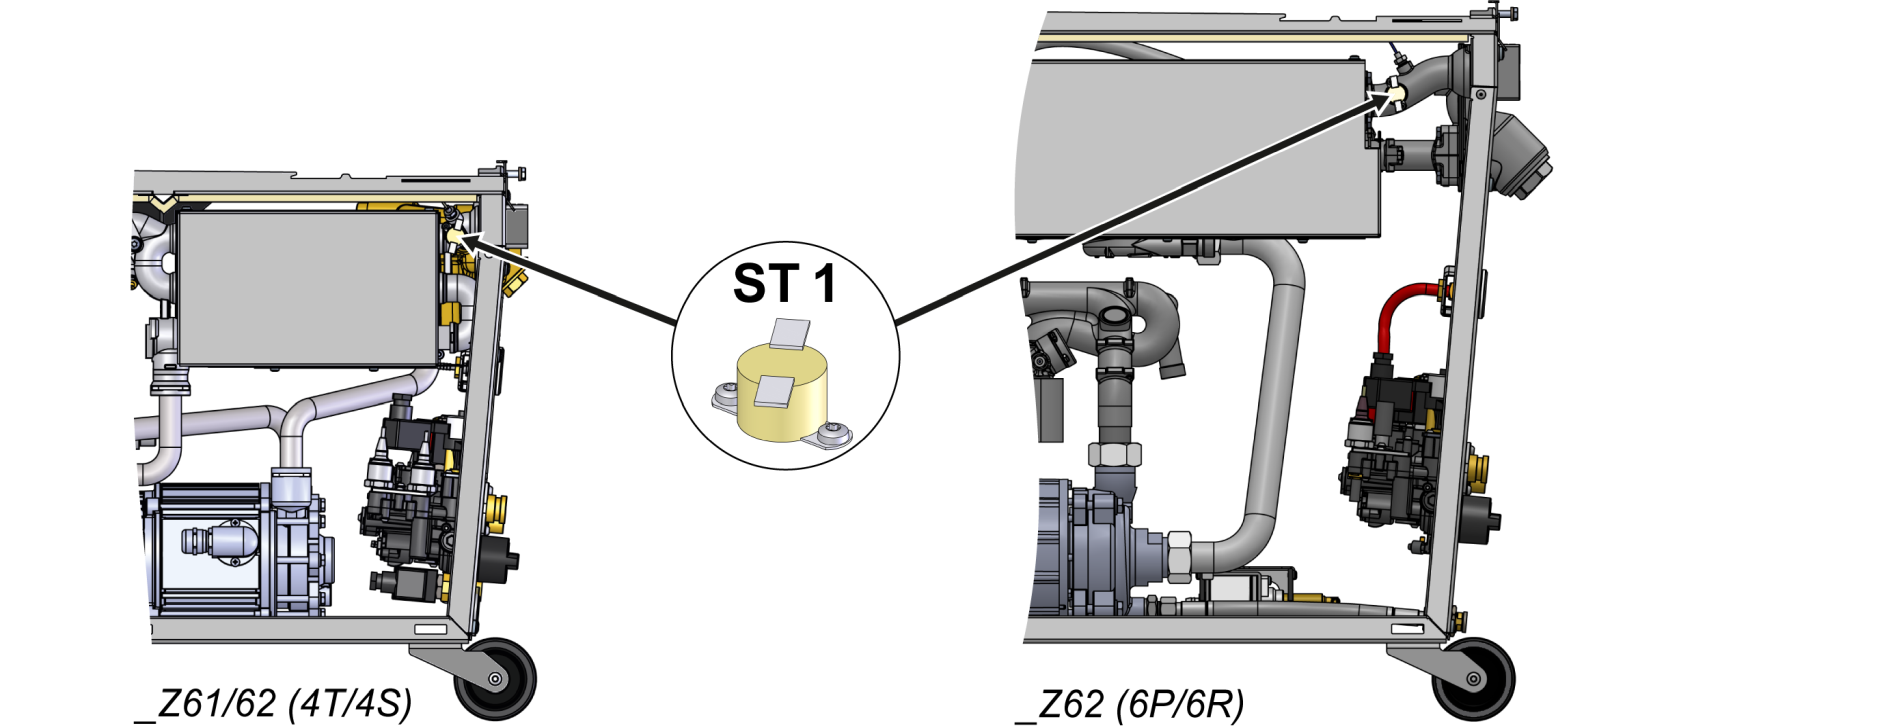
Install the thermostat cable flat plug on the new thermostat (ST_1).
ATTENTION!
For reliable function, it is important to ensure a perfect thermal contact surface between the thermostat and the surface.
Install the new thermostat (ST_1) and secure it with the mounting screws.
Make sure that the thermostat is in firm and complete contact with the surface.
Connect the mains-connector and switch on the main switch (QS 1).
Switch on the unit using the I/O button (), check the tightness and function of the unit.
Switch off the unit using the I/O button ().
The unit switches off and, if necessary, is cooled and depressurised.
Switch off the main switch (QS 1), pull out the mains-connector.
Datenschutz - Data protection - Protection de données
Wir setzen Cookies ein, um Ihnen die Nutzung unserer Webseite zu erleichtern. Weitere Informationen zu Cookies finden Sie in unserer Datenschutzerklärung. We use cookies to help you use our website. More information about cookies can be found in our privacy policy. Notre site utilise des cookies afin de vous garantir un service optimal. En utilisant ce site web, vous acceptez les présentes conditions. Vous trouverez privacy policy de plus amples informations. Privacy Policy