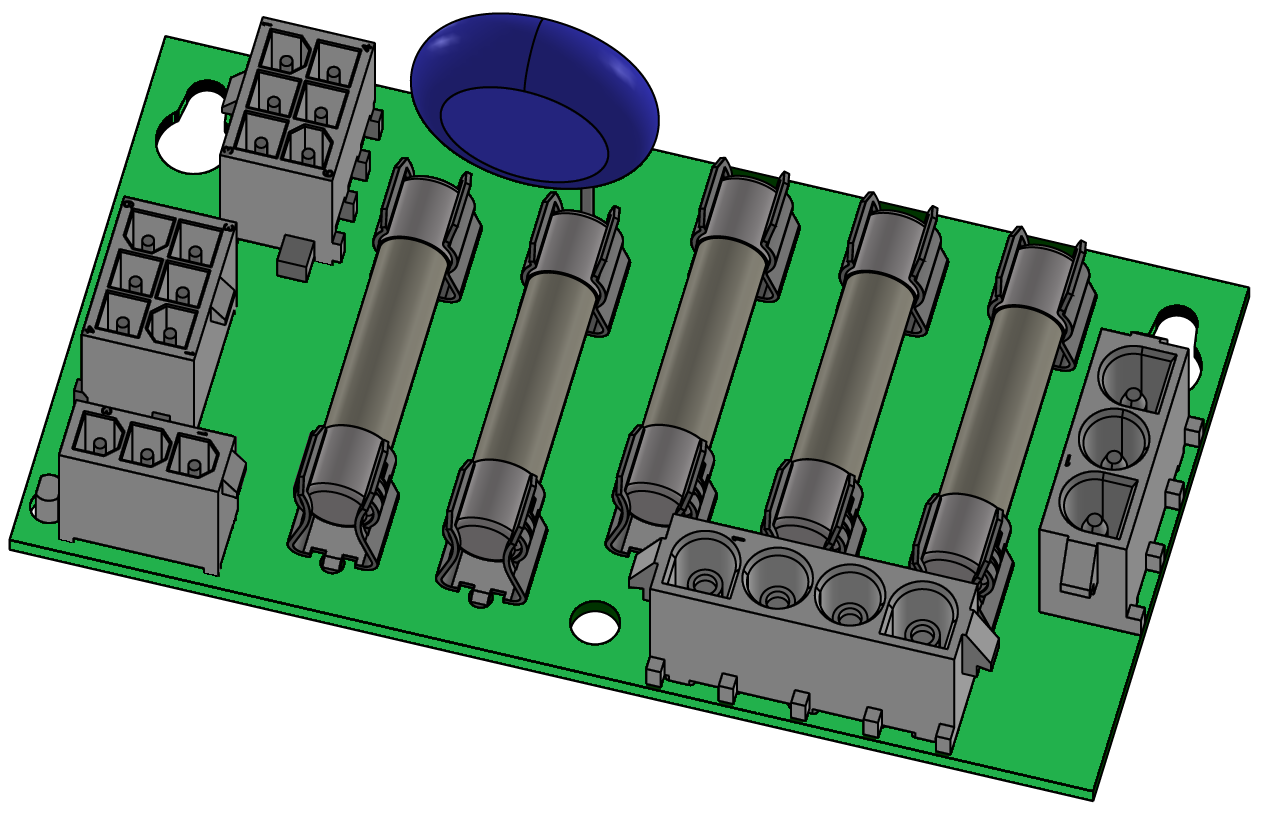
T28954 replacement power supply board PSU-61
Qualification
Qualified personnel
Material
Pos | Designation | Article | Number |
|---|---|---|---|
| 01 | PSU-61 power supply board | T28554 | 1 |
| 02 | X215 bridge plug (preselection of voltage) | T21608 | 1 |
Required material
- Torx screwdriver size 20
Procedure
ATTENTION!
Working with the unit requires knowledge of the safety instructions and quick guide. That's why:
Read the safety instructions and quick guide carefully before starting any work. The basic requirement for safe work is compliance with all safety instructions and careful action by qualified qualified personnel to prevent accidents involving personal injury and property damage.
Cool down and turn off the unit
- On the basic screen, tap the function button ().
→ The unit cools down until the temperature is lower than the cooling temperature. The unit then switches off.
- Switch off the main switch (QS 1), pull out the mains-connector.
Open front
- Open the front door and fold the front completely down by loosening the two Torx screws.
- Remove the protective cover in the electrical housing by removing the Torx screws.
Replace PSU-61 (A 14) power supply board
- Remove all connectors from the power supply board.
- Remove the mounting screw and remove the power supply board from its bracket to remove it.
- Transfer fuses (FU 1, FU 2,...) to the new power supply board.
- Install a new power supply board and secure it with a mounting screw.
- Check the Mains voltage (→ nameplate specification).
ATTENTION!
Danger Incorrect connections
Incorrect preselection of voltage or incorrect connections can damage the unit. That's why:
- Make sure the preselection of voltage and connections are correct.
- Pre-select the voltage at slot X215 with the bridge plug (T21608) (→ Fig.).
- Connect all connectors to the power supply board.
Close front
- Install the protective cover around the electrical housing and secure with Torx screws.
- Fold up the front and secure 2x Torx screws.
Switch on the unit and check the function
- Connect the mains-connector and switch on the main switch (QS 1).
- Switch on the unit using the I/O button (), check the tightness and function of the unit.
Switch off unit
-
Switch off the unit using the I/O button ().
→ The unit switches off and, if necessary, is cooled and depressurised. - Switch off the main switch (QS 1).

